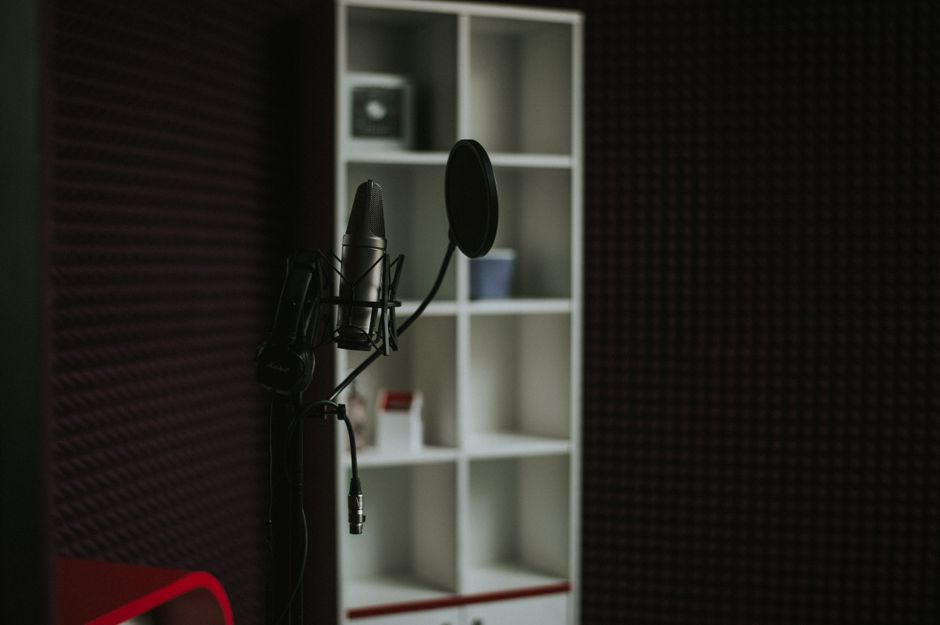
You finally set up your podcast, you hit record, and then you hear it — the neighbor’s TV bleeding through the wall, the HVAC kicking on, or your own voice bouncing around the room like you’re recording inside a tin can. Sound familiar? Whether you’re renting an apartment, leasing a house, or just don’t want to gut your walls, soundproofing a home podcast studio feels like a bigger project than it needs to be. The good news: it’s not. With the right materials and a clear plan, you can dramatically improve your recording environment without a contractor, a security deposit scare, or a massive budget.
This guide covers exactly how to do it — from blocking outside noise to taming the acoustics inside your room — so your recordings sound clean, professional, and ready to publish.
Understanding the Two Problems: Soundproofing vs. Acoustic Treatment
Before you spend a dime, you need to understand the difference between two things people constantly confuse:
- Soundproofing means blocking sound from entering or leaving your space. It stops your neighbor’s bass from creeping in and keeps your voice from disturbing your household.
- Acoustic treatment means controlling how sound behaves inside your room. It eliminates echo, flutter, and that hollow “bathroom reverb” that makes recordings sound amateur.
Most podcasters need both, but they solve different problems with different materials. Skipping this distinction is the most common reason people buy a bunch of foam panels and still end up with muddy, unprofessional audio.
Step 1: Find Your Weakest Sound Links
Sound is lazy — it takes the path of least resistance. Before treating anything, do a quick audit of your recording space:
- Hold your hand near windows and doors. Feel airflow? Sound flows through there too.
- Check under doors for gaps. Even a half-inch gap can let in significant noise.
- Identify hard surfaces — bare floors, glass, drywall, and ceilings are all sound reflectors.
- Note where outside noise is loudest. Is it traffic? Neighbors? Your HVAC system?
Your recording space doesn’t need to be perfect — it needs to be good enough. Identifying the top two or three problems and fixing those will get you 80% of the improvement you’re looking for.
Step 2: Seal Gaps and Block Airborne Noise
This is the unglamorous part of soundproofing, but it makes a massive difference. Sound travels through air, so anywhere air can sneak in, sound follows.
Doors
Interior doors are often hollow-core, which does almost nothing to block sound. Short of replacing them, your best options are:
- Add a door sweep to seal the gap at the bottom.
- Apply adhesive weatherstripping foam around the door frame to eliminate side gaps.
- Hang a heavy moving blanket or acoustic curtain over the door when recording.
Windows
Windows are another major weak point, especially in apartments. For renters, the best no-damage options are:
- Heavy blackout curtains with mass — look for curtains marketed as “thermal” or “noise-reducing.”
- Temporary window plugs made from rigid foam board with MLV layered on the back.
Speaking of MLV — Trademark Soundproofing Mass Loaded Vinyl is one of the most versatile materials in any soundproofing toolkit. It’s a dense, flexible barrier that can be cut to size and used behind window plugs, draped over doors, tucked behind wall panels, or even laid under carpet to reduce floor noise. It adds serious mass without permanent installation, which makes it ideal for renters.
Walls Shared With Noisy Neighbors
If you share a wall with a noisy neighbor, adding mass to that wall is your best non-destructive option. Bookshelves packed with books, large furniture pieces pressed against the wall, and layered acoustic panels all help add the density needed to reduce transmission.
Step 3: Treat Your Room Acoustics
Once you’ve reduced how much outside noise gets in, it’s time to fix how your voice sounds inside the room. Bare, boxy rooms create echo and reflection that makes even expensive microphones sound cheap.
The Problem With Hard Surfaces
Hardwood floors, bare drywall, and glass windows all reflect sound. When your voice hits those surfaces and bounces back to your microphone a few milliseconds later, you get a muddy, roomy quality in your recordings. The fix is adding soft, irregular surfaces that absorb those reflections.
Acoustic Foam Panels
Foam panels are the entry point for most podcasters treating a room on a budget. They’re lightweight, easy to mount temporarily, and effective at absorbing mid and high-frequency reflections. The GUERRI Acoustic Foam Wedge Panels 36-pack gives you enough coverage to treat the primary reflection points in a small to medium room without breaking the bank. Focus these panels on the wall directly behind your microphone, the two side walls at ear level, and the ceiling above your recording position if possible.
Pro tip for renters: avoid mounting foam directly on painted walls with command strips — they can pull paint. Instead, mount panels onto a sheet of cardboard or thin plywood first, then lean or prop those assemblies against the wall. No damage, fully removable.
Wood Slat Acoustic Panels: Form Meets Function
If your recording space doubles as a living space — which is the reality for most home podcasters — you probably don’t want your studio to look like a recording booth from 1987. That’s where wood slat acoustic panels come in. They absorb sound while genuinely looking like intentional, stylish wall décor.
The Art3d Wood Slat Acoustic Panels in Walnut are a great option for podcasters who want their space to look professional on camera too. These panels feature real wood veneer slats over an acoustic felt backing, which absorbs mid-range frequencies effectively — right in the range where your voice lives. Mount them on the wall behind you for a clean, modern aesthetic that pulls double duty as legitimate acoustic treatment. They’re available in various sizes and can be installed with minimal wall damage.
Don’t Forget the Floor and Ceiling
Hard floors reflect sound upward into your microphone. A large area rug under your recording setup makes a noticeable difference. For the ceiling, hanging acoustic panels or even thick blankets temporarily above your recording position can help if you’re dealing with significant echo from above.
Step 4: Optimize Your Microphone Placement
No amount of treatment will fully compensate for poor microphone technique, but good placement works hand-in-hand with your room treatment to minimize problems:
- Get closer to the mic. Most condenser and dynamic microphones sound better and capture less room noise when you’re 4–8 inches away.
- Use a cardioid polar pattern. Cardioid mics reject sound from behind and the sides, which means less room noise captured.
- Face away from windows. Position yourself so the mic faces a treated wall, not a reflective window or bare surface.
- Use a reflection filter. A portable vocal booth or reflection shield mounts directly to your mic stand and creates a treated acoustic pocket around your microphone without treating the entire room.
Step 5: Address HVAC and Mechanical Noise
One of the most frustrating podcast recording problems isn’t neighbor noise — it’s your own HVAC system. The fix depends on what kind of system you have:
- Central air/forced air systems: Turn the system off while recording if possible. Schedule recordings around your HVAC cycles.
- Window AC units: These are loud and nearly impossible to work around. Either record between cycles, use noise gates in your audio software, or consider a portable AC unit that can be vented into an adjacent room during recording sessions.
- Computer fans: Move your computer tower away from your microphone or invest in a quiet PC case. This is often overlooked but can ruin recordings.
Putting It All Together: A Practical Room Setup
Here’s a simple, prioritized action plan based on budget and impact:
- Under $50: Seal door gaps with weatherstripping and a door sweep. Add a large rug if you have hard floors. Reposition your microphone closer to your mouth.
- $50–$150: Add acoustic foam panels at primary reflection points. Hang heavy curtains over windows. Use moving blankets temporarily over shared walls during recording sessions.
- $150–$300: Add Mass Loaded Vinyl to your window plug or shared wall assembly. Upgrade to wood slat acoustic panels for a cleaner, more permanent aesthetic treatment that works on camera too.
You don’t need to do all of this at once. Start with the highest-impact, lowest-cost fixes first — sealing gaps and treating primary reflection points — and build from there as your budget allows.
Conclusion
A professional-sounding podcast studio doesn’t require a construction crew, a permanent home, or a five-figure budget. It requires understanding your specific noise problems, addressing them in order of impact, and choosing materials that actually work for your living situation. Renters and apartment dwellers have more options than they realize — from removable acoustic panels and MLV barriers to smart microphone placement and portable treatment setups. Start small, be systematic, and your recordings will improve with every layer you add.
Frequently Asked Questions
Can I soundproof a podcast studio without damaging my walls?
Yes. Many effective solutions require zero permanent installation. Freestanding acoustic panel frames, furniture-backed MLV barriers, and leaned panel assemblies all work without putting a single hole in your wall. Even command strips — used carefully and on the right surfaces — can hold lighter foam panels without paint damage.
How much acoustic treatment do I actually need?
For podcasting, you don’t need a dead room — you need a controlled one. Treating roughly 25–30% of your wall surface area at key reflection points (behind the mic, to the sides at ear level) is typically enough to remove noticeable echo and flutter. Going overboard with too much absorption can make your room sound unnaturally dead, which is also unflattering.
Is acoustic foam the same as soundproofing?
No — this is one of the most common misconceptions in home recording. Acoustic foam absorbs sound reflections inside your room to improve audio quality. It does very little to block sound from traveling through walls, doors, or windows. For actual sound blocking, you need mass-based materials like mass loaded vinyl, solid-core doors, or dense layered barriers.
What’s the single most impactful thing I can do to improve my podcast audio?
Move your microphone closer to your mouth. It sounds too simple, but proximity dramatically reduces the amount of room noise and echo your mic picks up relative to your voice. Combined with treating the wall directly behind your microphone, this two-step change will produce a bigger improvement than almost anything else you can do.
Affiliate Disclosure: This article contains affiliate links. If you make a purchase through these links, we may earn a small commission at no additional cost to you. This helps support Soundproofing Simplified and allows us to continue creating helpful guides. We only recommend products we genuinely believe will help.