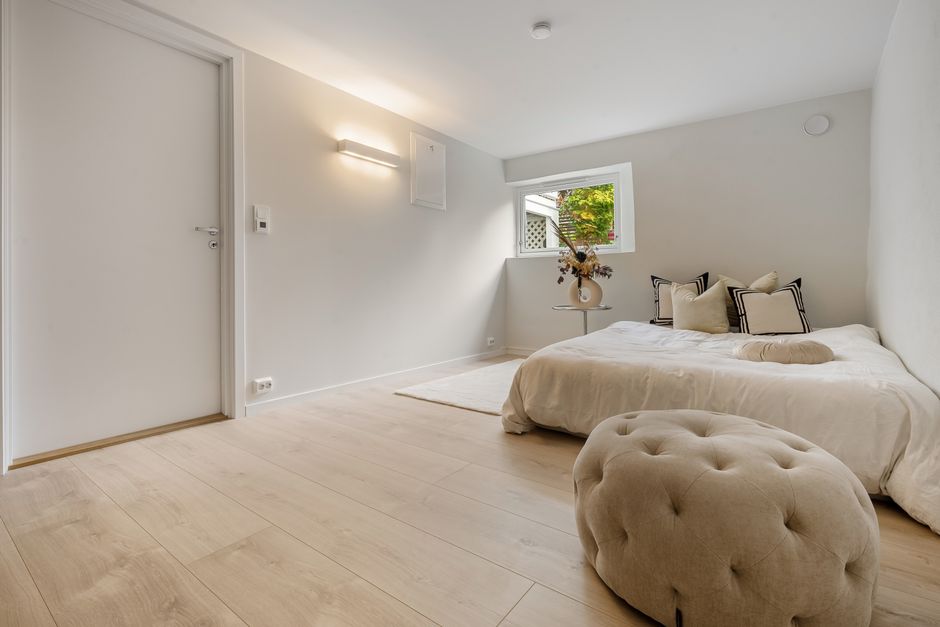
Your bedroom is supposed to be your sanctuary — a place to sleep, decompress, and actually get some quiet. But if every conversation from the living room, footsteps in the hallway, or noise from the street bleeds right through your bedroom door, that sanctuary starts to feel more like a fishbowl. The good news? Your door is one of the most fixable noise problems in any home or apartment. You don’t need to tear out walls or hire a contractor. With the right materials and a little weekend effort, you can significantly reduce the amount of noise traveling through your bedroom door — whether you own your home or rent your apartment.
This guide covers everything from understanding why doors leak sound to the most effective solutions, ranked roughly from easiest to most involved. Let’s get into it.
Why Bedroom Doors Are Such Poor Sound Barriers
Before you start throwing products at the problem, it helps to understand what you’re actually dealing with. Most interior doors — especially in apartments and budget homes — are hollow-core. That means the inside of the door is essentially cardboard honeycomb sandwiched between two thin wood panels. These doors are cheap to manufacture and light to hang, but they do almost nothing to block sound.
Even if you have a solid-core door, sound still finds a way through because of gaps. The gaps around a typical door frame — at the sides, top, and especially the bottom — are often large enough to slip a piece of paper through. Sound doesn’t need much of an opening. If air can get through, sound can get through. In fact, experts in acoustic engineering often point out that a gap covering just 1% of a door’s surface area can let through roughly 50% of the sound that would otherwise be blocked.
So your two main enemies are: the door’s mass (or lack thereof) and the gaps around it.
Step 1: Seal the Gaps First (This Is Non-Negotiable)
Sealing gaps is the single highest-impact thing you can do, and it often costs less than $50. Don’t skip this step thinking you’ll get results from door panels alone — you won’t. Gaps will undermine every other solution you try.
The Door Bottom Gap
The bottom of the door is usually the biggest culprit. Most interior doors have a half-inch to full-inch gap at the bottom for airflow and carpet clearance. That gap is an acoustic highway.
Install a door sweep or an automatic door bottom. A basic rubber door sweep attaches to the bottom of the door with screws and drags along the floor to seal the gap. These are renter-friendly since they attach to the door itself (not the frame) and cost around $15–$25. For a more elegant solution, automatic door bottoms drop a seal into place the moment the door closes and retract when you open it — they’re more expensive but easier to walk over.
The Door Frame Gaps (Sides and Top)
Compression weatherstripping is your best friend here. It’s adhesive-backed foam or rubber that compresses when the door closes, creating an airtight seal around the perimeter. Look for EPDM rubber weatherstripping rather than basic foam — it holds up longer and seals better. You can pick it up at any hardware store for under $20 and apply it in about 20 minutes without any tools.
Once you’ve sealed the gaps, close the door and see if you can feel or hear airflow. If not, you’ve made a real difference already.
Step 2: Add Mass to the Door Itself
Once the gaps are sealed, the next goal is to add mass to the door. Sound waves lose energy when they have to move heavy, dense materials. A hollow-core door vibrates easily; a dense door doesn’t.
Mass Loaded Vinyl (MLV): The Workhorse Solution
Mass loaded vinyl is one of the most trusted materials in the soundproofing world for exactly this reason. It’s a thin, heavy, flexible sheet of vinyl that you can attach directly to your door to dramatically increase its mass without adding much thickness.
The Trademark Soundproofing Mass Loaded Vinyl is a solid choice for this application. It comes in various sizes and can be cut to fit your door exactly. You can attach it with adhesive, staples (if you own the door), or even heavy-duty double-sided tape for a more renter-friendly approach. Cover as much of the door surface as possible for maximum effect. MLV is not the prettiest material on its own, but it’s highly effective — and you can always cover it with something more decorative afterward.
Solid-Core Door Replacement (For Homeowners)
If you own your home and the noise problem is severe, replacing a hollow-core door with a solid-core door is the most permanent and effective structural fix. Solid-core doors weigh three to four times more than hollow-core doors and provide a significant STC (Sound Transmission Class) improvement. This is a bigger project — you’ll likely need a handyperson or carpenter — but paired with proper weatherstripping and a door sweep, it’s the gold standard for bedroom door soundproofing.
Step 3: Apply Acoustic Panels to Absorb and Dampen Sound
Here’s something many guides get wrong: acoustic panels on your door don’t block sound the way mass does — they absorb sound energy and reduce reflections. That said, they still contribute to the overall noise reduction in your room, and some products do add a small amount of mass as well. More importantly, they can dramatically improve the acoustic quality inside your room by reducing echo and reverberation, which makes any noise that does come through feel less harsh and intrusive.
Acoustic Foam Panels
Foam panels are inexpensive, easy to apply, and effective at absorbing mid-to-high frequency sounds. The GUERRI Acoustic Foam Wedge Panels 36-pack gives you enough material to cover your door and still have panels left over for walls or corners. These are particularly useful if you’re dealing with noise from music, voices, or TV. You can attach them with spray adhesive or 3M Command strips for a damage-free installation. For renters, Command strips are the move — they peel off cleanly when it’s time to move out.
Decorative Wood Acoustic Panels
If you want something that actually looks good in your bedroom (rather than something that looks like a recording studio), decorative acoustic panels are worth considering. The Art3d Wood Slat Acoustic Panels in Walnut combine real wood aesthetics with acoustic absorption. These work beautifully mounted on the wall next to or surrounding the door — not necessarily on the door itself — to treat the overall sound environment in the room. If your bedroom is also picking up a lot of echo and reflected noise, installing these on a wall can make a noticeable difference in how “quiet” the room feels, even when some sound is still entering.
Step 4: Add a Soundproof Door Curtain or Moving Blanket
This is one of the most renter-friendly, budget-friendly options available, and it works surprisingly well. Heavy curtains or moving blankets hung over the door add mass, absorb sound, and cover gaps all at once. You’ll need a sturdy curtain rod mounted above the door frame, but that’s a minor installation.
Look for curtains that are specifically marketed as “blackout” or “thermal” — these tend to be denser than standard curtains. Dedicated soundproof curtains are even better. They won’t give you complete silence, but they can take the edge off noticeably, especially for voices and mid-frequency noise.
Renter-Specific Tips: How to Do This Without Losing Your Deposit
- Use adhesive weatherstripping instead of nailed-in products wherever possible — most adhesive foam strips peel off cleanly.
- Door sweeps that screw into the door face are usually deposit-safe since the door belongs to the landlord but you’re not modifying the structure — just check your lease.
- Command strips and hook-and-loop tape work well for lighter acoustic panels and foam.
- Hang heavy curtains from a tension rod — no drilling required.
- Document everything with photos before and after installation so you can prove what you changed.
- When in doubt, ask your landlord. Many are fine with acoustic improvements that don’t damage walls or doors.
How to Prioritize: What Should You Do First?
If you’re on a tight budget, here’s a simple priority order based on impact per dollar spent:
- Seal the door bottom — door sweep ($15–$25)
- Seal the frame perimeter — weatherstripping ($10–$20)
- Add mass to the door — MLV or heavy curtain ($30–$80)
- Treat the room acoustics — acoustic panels on walls and door ($40–$100)
- Replace the door — solid-core upgrade (homeowners only, $150–$400+)
Start with steps one and two. Many people are genuinely surprised by how much of a difference sealing gaps alone can make. From there, work your way down the list as your budget allows.
Conclusion
Soundproofing your bedroom door is one of the highest-leverage improvements you can make for your sleep quality and overall peace of mind. You don’t need to gut your apartment or spend thousands. Start by sealing every gap around the door frame and bottom — that alone can cut noise transmission significantly. Then add mass with mass loaded vinyl or heavy curtains, and treat your room’s acoustics with foam or decorative panels to reduce what does get through. Whether you’re a renter working with strict deposit rules or a homeowner ready to make permanent upgrades, there’s an approach that works for your situation. Quiet nights are closer than you think.
Frequently Asked Questions
Can you soundproof a door without making permanent changes?
Yes, absolutely. Adhesive weatherstripping, tension-rod curtains, Command-strip foam panels, and door sweeps that attach with screws to the door face (not the wall) are all renter-friendly options that can be removed without damaging the property. You may not get the same results as a full permanent installation, but the improvement can still be significant.
What’s the most effective single product for soundproofing a door?
If you can only buy one thing, buy weatherstripping and a door sweep. Sealing the air gaps around a door is more impactful than any panel or barrier you can add to the door surface. If you’ve already done that, then mass loaded vinyl is the next most impactful product to add.
Will acoustic foam panels on the door actually block noise?
Not significantly on their own. Acoustic foam is designed to absorb sound reflections and reduce echo inside a room — it’s not a sound barrier. That said, it does contribute to making your room feel quieter by reducing reverberation, and when combined with gap sealing and added mass, it’s a worthwhile part of the overall solution.
My neighbor’s TV noise is the main problem — what works best for that?
Television noise tends to be mid-to-low frequency, which is harder to block. Your best combination is: sealed gaps (weatherstripping and door sweep), added mass (MLV or a heavy curtain), and a white noise machine inside your bedroom to mask residual sound. This combination won’t make the noise disappear, but it can bring it down to a livable level without major construction.
Affiliate Disclosure: This article contains affiliate links. If you make a purchase through these links, we may earn a small commission at no additional cost to you. This helps support Soundproofing Simplified and allows us to continue creating helpful guides. We only recommend products we genuinely believe will help.