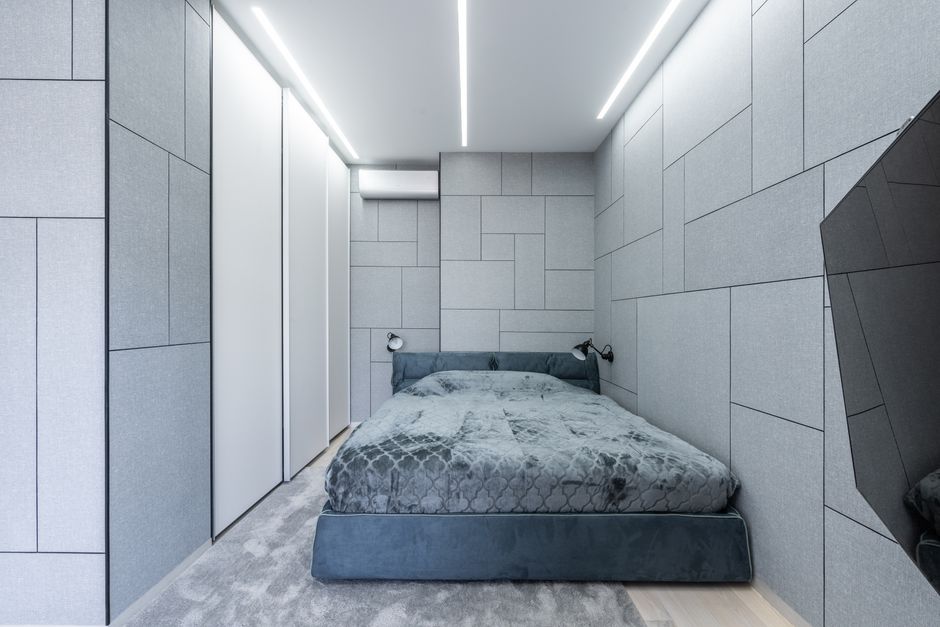
Living in an apartment means sharing walls, ceilings, and floors with neighbors who keep completely different schedules than you do. Whether it’s the couple above you arguing at midnight, the bass thumping from next door, or street traffic bleeding through your windows, noise pollution in a bedroom is more than annoying — it actively wrecks your sleep, focus, and mental health. The good news? You don’t need to own your home, hire a contractor, or spend thousands of dollars to make a real difference. This guide walks you through practical, renter-friendly soundproofing strategies that actually work — no permanent damage to your walls required.
Understanding the Two Types of Noise You’re Fighting
Before you spend a dime, it helps to know what you’re dealing with. Not all noise travels the same way, and the wrong solution will leave you frustrated and out of money.
Airborne Noise
This is sound that travels through the air — voices, TV audio, music, and barking dogs. It enters your bedroom by vibrating through walls, windows, and gaps. Soft, dense materials absorb and block this type of noise most effectively.
Impact Noise
This is sound created by physical contact with a surface — footsteps overhead, furniture being dragged, doors slamming. It travels through the building structure itself, which makes it harder to block. Rugs, underlayment, and decoupling materials help here.
Most apartment bedrooms deal with both types simultaneously. The strategies below address each one, so mix and match based on what your specific situation calls for.
Start With the Easiest (and Cheapest) Fixes First
Soundproofing doesn’t have to mean a weekend project. Some of the most effective changes cost almost nothing and take under an hour.
Seal Every Gap You Can Find
Sound is like water — it finds every crack. Check around your door frame, window edges, electrical outlets on shared walls, and any pipes or vents that pass through walls. Use weatherstripping tape on your bedroom door and a door sweep at the bottom. A rolled-up towel at the base of the door is a free temporary fix that actually helps more than most people expect.
Rearrange Your Furniture Strategically
Your bookshelf, dresser, and wardrobe are free sound barriers. Move large, heavy furniture against shared walls — especially bookshelves filled with books. The mass helps absorb and block sound without touching your security deposit. A floor-to-ceiling wardrobe placed against a noisy shared wall can reduce transmitted sound noticeably.
Add Rugs and Carpet Padding
If you have hardwood or tile floors, you’re living in an echo chamber. A thick area rug with a dense pad underneath does double duty: it absorbs airborne sound bouncing around your room and reduces impact noise you send to the unit below you. Go as thick as you can reasonably afford — the denser the better.
Treat Your Walls Without Damaging Them
This is where most renters feel stuck, but there are genuinely good renter-friendly wall treatments available today.
Acoustic Panels: Function Meets Style
Acoustic panels are one of the most effective tools for reducing sound reflection and echo inside your bedroom, which makes the overall noise problem feel much less intrusive. Modern panels have come a long way from the ugly grey foam squares of the past.
If you want something that looks like intentional interior design rather than a recording studio, consider the Art3d Wood Slat Acoustic Panels in Walnut. These wall-mounted panels absorb mid and high-frequency sound while adding a warm, modern aesthetic to your bedroom. They’re lightweight, easy to hang with removable adhesive strips, and they won’t leave your landlord reaching for your security deposit. This is one of the few products that genuinely solves a noise problem while making your space look better in the process.
Acoustic Foam for Problem Areas
For renters on a tighter budget who need broad wall coverage — especially on a wall shared with a loud neighbor — acoustic foam wedge panels are a cost-effective option. They won’t block sound from entering your room (no foam panel will), but they dramatically reduce echo and reverberation inside the room, which makes incoming noise feel less overwhelming and improves sleep quality.
The GUERRI Acoustic Foam Wedge Panels 36-pack gives you enough coverage to treat a full wall or a ceiling section without spending a fortune. Apply them in a grid pattern on the wall that backs up to your noisiest neighbor. Use removable adhesive strips or a light spray adhesive on cardboard backing panels that you can remove cleanly when you move out.
Hang Heavy Curtains and Tapestries
Thick, floor-to-ceiling curtains do more than block light — they absorb sound. Look for blackout curtains with a dense, layered lining. Hanging a large woven tapestry on a shared wall adds even more mass and absorption. These are renter-friendly, reusable when you move, and can genuinely take the edge off noise coming through walls.
Tackle the Windows
Windows are one of the weakest points in any room’s acoustic envelope. Even a well-insulated wall becomes irrelevant if your window is single-pane or poorly sealed.
Weatherstrip and Seal
Start by pressing your hand around the window frame while someone holds a flashlight outside at night — any light you see is a gap that sound is pouring through. Apply foam weatherstripping tape around the frame and use rope caulk (which is removable) in any larger gaps.
Use Window Inserts or Acoustic Curtains
Removable window inserts — acrylic or glass panels that sit inside your existing window frame — create an additional air gap that blocks a significant amount of outside noise. They’re pricier than other DIY options but extremely effective and fully removable. As a more affordable alternative, pair heavy blackout curtains with a second layer of thermal curtains to create a layered sound buffer.
Address the Ceiling and Floor Noise
Footsteps and impact noise from upstairs neighbors are notoriously hard to deal with from below. You can’t add mass to a ceiling without structural work — but you can reduce how much that noise bothers you.
Add a Canopy or Fabric Overhead
Hanging a fabric canopy above your bed doesn’t just look stylish — the soft material absorbs some of the sound energy before it reaches your ears. It won’t eliminate the thumping, but it takes the edge off.
Use Mass Loaded Vinyl Behind Furniture
Mass Loaded Vinyl (MLV) is one of the most effective soundproofing materials available, and it doesn’t require permanent installation. You can hang it behind a bookshelf, inside a closet on a shared wall, or even underneath a rug for added floor mass.
The Trademark Soundproofing Mass Loaded Vinyl is a professional-grade option that’s flexible, dense, and surprisingly versatile for renters. A section hung behind a large piece of furniture on your noisiest wall can make a measurable difference in how much sound bleeds through. It’s one of the heavier investments on this list, but it’s also one of the most effective — and it moves with you when you leave.
White Noise: The Underrated Backup Strategy
No budget soundproofing approach is complete without acknowledging the power of sound masking. A quality white noise machine or a box fan running near your bed doesn’t eliminate noise — it masks the sudden changes in sound level that actually wake you up and disrupt sleep. Even after applying every tip in this guide, a white noise machine alongside your physical treatments will dramatically improve your results for under $30.
Prioritize Your Efforts Based on Your Situation
- Noise through shared walls: Focus on furniture placement, MLV, acoustic panels, and foam treatment first.
- Noise from upstairs neighbors: Area rugs, white noise masking, and ceiling canopies will help most.
- Street noise through windows: Weatherstripping, rope caulk, and heavy layered curtains are your priority.
- Echo and reverberation inside the room: Acoustic foam, panels, rugs, curtains, and soft furnishings solve this quickly.
Conclusion
Soundproofing an apartment bedroom on a budget isn’t about finding one magic product — it’s about layering multiple strategies that each chip away at the problem. Seal the gaps, add mass to shared walls, absorb sound inside the room, and mask what you can’t fully block. The combination of even a few of these approaches will produce a noticeably quieter, more restful bedroom without risking your lease or draining your savings. Start with the free fixes, add one or two targeted products, and build from there. Your sleep will thank you.
Frequently Asked Questions
Will acoustic foam actually block sound from coming through my walls?
No — and this is one of the most common misconceptions in DIY soundproofing. Acoustic foam absorbs sound inside your room, reducing echo and reverberation. It does not block sound transmission through walls. For blocking, you need mass (like MLV or dense furniture). For absorption (improving how the room sounds and feels), foam panels work well. You need both for the best results.
Can I soundproof my apartment without losing my security deposit?
Yes, if you’re careful. Use removable adhesive strips for panels, rope caulk instead of permanent caulk on windows, furniture placement instead of wall modifications, and hung panels rather than glued-on treatments. Always test adhesive strips on a hidden area first. When you move out, most renter-friendly installations come down cleanly.
How much should I expect to spend on a budget bedroom soundproofing project?
A meaningful improvement is achievable for $100–$300 depending on room size and which solutions you prioritize. Weatherstripping and door sweeps run under $20 total. A set of acoustic foam panels or wood slat panels typically runs $40–$150. A section of mass loaded vinyl is a bigger investment but does the heaviest lifting acoustically. Start small, see what makes the biggest difference, and add from there.
Does soundproofing actually improve sleep quality?
Research consistently shows that sleep disruption is caused less by overall noise volume and more by sudden changes in sound level — the spike when a door slams or a car honks. Soundproofing reduces these peaks, and white noise masking smooths out the remaining fluctuations. Together, these approaches create a more consistent sound environment that allows your brain to stay in deeper sleep stages longer. Yes, it genuinely works.
Affiliate Disclosure: This article contains affiliate links. If you make a purchase through these links, we may earn a small commission at no additional cost to you. This helps support Soundproofing Simplified and allows us to continue creating helpful guides. We only recommend products we genuinely believe will help.