If you can hear your neighbor’s TV through the wall like it’s playing in your living room, you already know the frustration. Thin walls are one of the most common complaints among apartment dwellers and renters — and even homeowners in newer builds aren’t immune. The good news? You don’t need to tear down drywall or hire a contractor to make a real difference. There are practical, renter-friendly, and budget-conscious solutions that can significantly reduce the noise bleeding through your walls. This guide breaks down the best soundproofing solutions for thin walls, how they work, and exactly how to use them.
Why Thin Walls Let So Much Sound Through
Before you start buying products, it helps to understand what you’re actually fighting. Sound travels in two forms: airborne noise (voices, TV, music) and impact noise (footsteps, banging). Thin walls — typically a single layer of drywall over studs with little or no insulation — do almost nothing to block either type.
The key principles of soundproofing are:
- Mass — heavier, denser materials block more sound
- Absorption — soft, porous materials absorb sound energy before it can reflect or transmit
- Decoupling — separating surfaces so vibration can’t travel directly through them
- Damping — converting sound energy into heat using viscoelastic compounds
The most effective approach combines more than one of these principles. Let’s look at how to do that without a full renovation.
Add Mass to the Wall Surface
The single most effective thing you can do to a thin wall is add mass. Sound has a harder time pushing through heavy, dense materials. There are a few ways to do this depending on your budget and whether you’re renting or own your space.
Mass Loaded Vinyl (MLV)
Mass loaded vinyl is widely considered the gold standard for adding mass to walls without major construction. It’s a flexible, heavy sheeting material that you hang directly on the wall — behind furniture, inside a closet wall, or even sandwiched between layers of drywall in a permanent installation.
For renters, one popular approach is to hang MLV like a tapestry or curtain behind a bookshelf or large piece of furniture. It won’t win any interior design awards that way, but it works. The Trademark Soundproofing Mass Loaded Vinyl is a solid go-to option — it’s available in different weights and sizes, and it’s the kind of versatile product you can use on walls, floors, and even ceilings depending on where your noise problem is worst.
MLV is especially effective against low-to-mid frequency airborne noise — the kind of rumble you get from bass-heavy music or deep voices coming through the wall.
Bookshelves and Furniture as Mass
This won’t solve a serious noise problem on its own, but placing a large, fully-loaded bookshelf against a shared wall adds meaningful mass and creates an air gap — both of which help. Fill it with books (not decorative objects). The denser the better. It’s a free upgrade if you already have the furniture.
Use Acoustic Panels for Sound Absorption
There’s an important distinction to make here: acoustic panels absorb sound, meaning they reduce echo and reverberation inside your room. They don’t block sound from passing through a wall the same way mass does. However, they’re not useless for noise problems — by absorbing sound energy on your side of the wall, they can reduce the overall intensity of noise that reaches your ears and improve speech intelligibility (making it easier to tune out background noise).
Acoustic panels are also one of the most renter-friendly options because they mount without major modifications and can be removed when you move out.
Foam Acoustic Panels
Wedge-style foam panels are the most affordable entry point into acoustic treatment. They’re lightweight, easy to install with adhesive strips or mounting tape, and cover a lot of surface area quickly. For a problem wall, covering 25–50% of the surface with foam panels will noticeably reduce flutter echo and high-frequency noise buildup in the room.
The GUERRI Acoustic Foam Wedge Panels 36-pack gives you enough panels to treat a large portion of a wall (or multiple walls) in one shot. At 36 panels, you have flexibility in how you arrange them, and the wedge pattern is effective at scattering and absorbing sound across a range of frequencies. These work particularly well in home offices, bedrooms, and any room where you’re trying to cut down on noise fatigue throughout the day.
Decorative Wood Slat Acoustic Panels
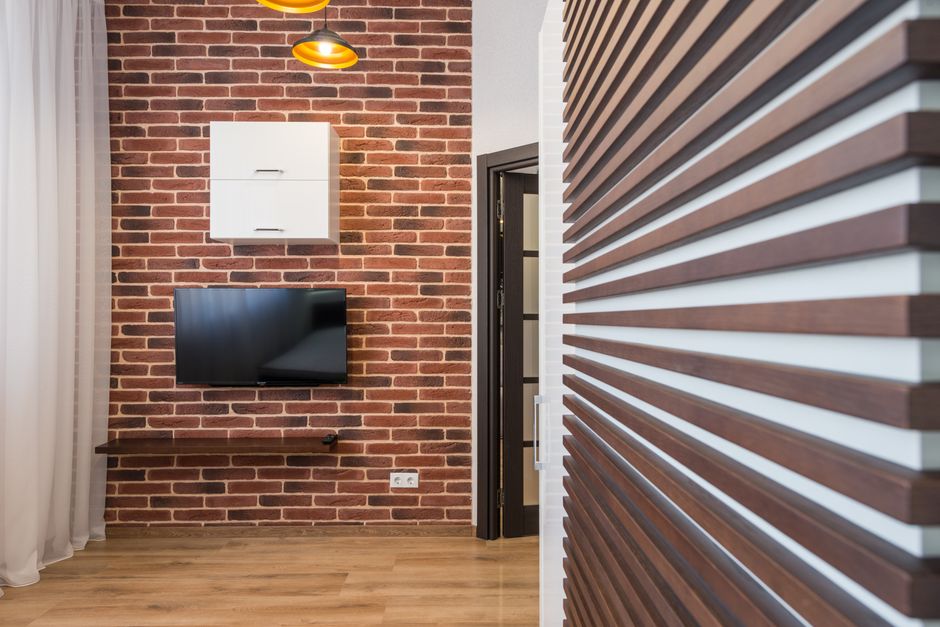
If foam panels feel too utilitarian, wood slat acoustic panels have become extremely popular because they look genuinely good on a wall while still providing acoustic benefits. They work by combining a fabric or felt backing (which absorbs sound) with the wood slat geometry (which diffuses sound), giving you the best of both worlds aesthetically and acoustically.
The Art3d Wood Slat Acoustic Panels in Walnut are a great example of this category done right. They install cleanly, they have a high-end look that works in living rooms and bedrooms, and they provide legitimate acoustic treatment — not just decoration. If you’re dealing with a shared wall that’s also a focal point in your room, this is how you solve two problems at once.
Seal Gaps and Weak Points
Mass and absorption won’t help much if sound is sneaking through gaps, outlets, or door frames around the wall. This is one of the most overlooked steps in soundproofing, and it’s also one of the cheapest to fix.
What to Look For
- Electrical outlets — outlets on shared walls are often uninsulated cavities that act like sound funnels. Foam outlet gaskets seal them in minutes.
- Baseboards and crown molding — small gaps where drywall meets trim can let significant amounts of sound through. Acoustic caulk seals these effectively.
- Wall penetrations — anywhere a pipe, cable, or duct passes through a wall is a potential sound path. Use expanding foam or acoustic caulk to seal around them.
Sealing these gaps won’t transform a thin wall into a soundproofed studio, but it eliminates the easy entry points that undermine everything else you do.
Hang Heavy Curtains and Textiles
This is another layer in the strategy, not a standalone fix. Heavy curtains, tapestries, thick rugs hung on walls, and upholstered panels all add mass and absorption to a wall surface. In combination with other methods, they make a real difference.
For a wall that faces a noisy neighbor, consider hanging thick floor-to-ceiling curtains directly against it — not over a window, but as a wall treatment. This is a common technique in recording studios and theater spaces, and it works in apartments too. The more mass and absorption you layer onto that wall, the less sound gets through.
Layer Your Solutions for Best Results
No single product is going to transform a paper-thin wall into a soundproof barrier. The most effective approach is layering:
- Start with mass (MLV, bookshelves, heavy curtains)
- Add absorption (acoustic panels — foam or decorative wood slat)
- Seal the gaps (outlets, baseboards, penetrations)
- Use white noise as a final layer to mask residual sound
Each layer reduces sound transmission further. A wall treated with MLV plus acoustic panels plus sealed gaps will perform dramatically better than a wall with just one of those improvements.
What Renters Should Know Before They Start
If you’re renting, you need solutions that won’t damage walls or violate your lease. Here’s what’s generally safe:
- Command strips and removable adhesive for lightweight panels
- Freestanding furniture (bookshelves, wardrobes) placed against walls
- Tension rod curtains hung against walls without drilling
- Acoustic panels with French cleats that use minimal wall anchors
Always check your lease and, if in doubt, talk to your landlord. Some landlords will actually approve or even contribute to soundproofing improvements if it means better tenant retention.
Conclusion
Thin walls are frustrating, but they’re not a lost cause. By combining mass-adding materials like mass loaded vinyl with absorptive panels — whether that’s practical foam wedges or the more stylish Art3d Wood Slat panels — and sealing the gaps that let sound sneak through, you can make a genuine, noticeable improvement to your noise situation. Start with your biggest problem wall, layer your solutions, and build from there. You don’t need a construction crew — just a clear strategy and the right materials.
Frequently Asked Questions
Can you soundproof a thin wall without damaging it?
Yes. Renter-friendly options include hanging mass loaded vinyl behind furniture, using removable adhesive strips for acoustic panels, and placing heavy bookshelves against the wall. None of these require permanent modifications and most can be reversed when you move out.
What’s the difference between soundproofing and acoustic treatment?
Soundproofing refers to blocking sound from entering or leaving a space — typically achieved with mass and decoupling. Acoustic treatment refers to controlling how sound behaves inside a room — typically achieved with absorption and diffusion. Both matter for a comfortable living space, and the best results combine both approaches.
How much can I realistically reduce noise through a thin wall?
With a layered approach (mass + absorption + gap sealing), most people report a noticeable reduction in perceived noise — often enough to go from clearly hearing conversations to only detecting muffled sound. A complete soundproof result is very difficult without structural changes, but significant improvement is absolutely achievable with the right products and techniques.
Is mass loaded vinyl worth it for renters?
Yes, especially if noise is severely affecting your sleep or daily life. MLV is flexible enough to install without permanent mounting — you can hang it behind a bookshelf or use it as the backing behind a curtain panel. It’s one of the highest-impact products you can use for a thin wall, and it can move with you to your next place.
Affiliate Disclosure: This article contains affiliate links. If you make a purchase through these links, we may earn a small commission at no additional cost to you. This helps support Soundproofing Simplified and allows us to continue creating helpful guides. We only recommend products we genuinely believe will help.