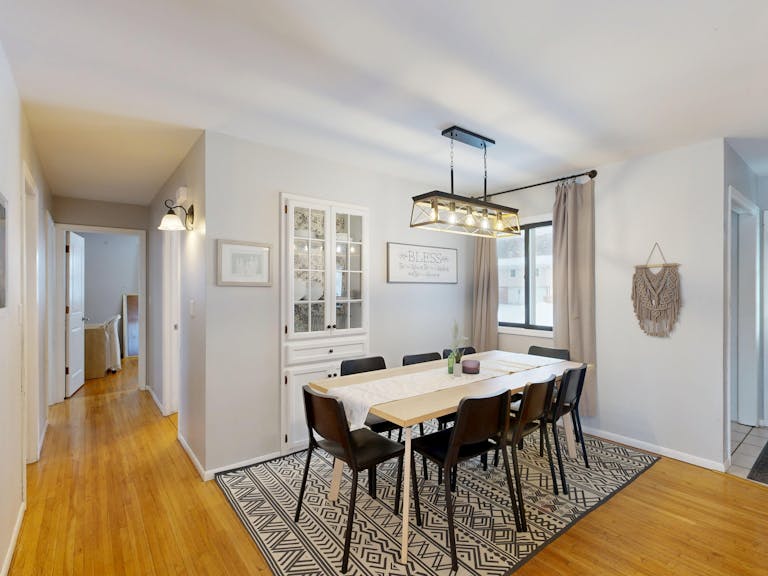
Living in an apartment means dealing with noise from every direction. Neighbors talking through thin walls, TV sounds bleeding through from next door, or your own music and conversations carrying into shared spaces. Acoustic panels for apartment walls offer a solution, but there’s a lot of confusion about what they actually do and which ones work best for apartment dwellers.
After researching dozens of options and understanding the science behind acoustic treatment, we’ve put together this guide to help you choose the right panels for your specific situation. Whether you’re trying to reduce echo in your home office, create a better environment for recording content, or minimize sound transfer between rooms, you’ll find the right solution here.
Disclosure: This post contains affiliate links. As an Amazon Associate, I earn from qualifying purchases. Some products in this article are part of sponsored campaigns, but all opinions are my own.
What Acoustic Panels Actually Do (And Don’t Do)
Before spending money on acoustic panels, you need to understand an important distinction that manufacturers often gloss over.
Sound absorption vs soundproofing are not the same thing.
Acoustic panels absorb sound waves that are already in your room. They reduce echo, reverberation, and that “hollow” sound you get in rooms with hard surfaces. This makes your space sound better from the inside and can reduce the amount of sound that bounces around and eventually escapes.
What acoustic panels don’t do is block sound from entering or leaving your apartment. If your neighbor’s bass is shaking your walls, foam panels alone won’t stop that. For true sound blocking, you need mass and density, which means materials like mass loaded vinyl, heavy curtains, or actual construction changes.
That said, acoustic panels for apartment walls still provide real benefits for apartment dwellers:
Installing acoustic panels for apartment walls will help you achieve a quieter and more peaceful living space.
- Reduce echo and improve speech clarity for video calls and recordings
- Absorb some mid and high-frequency sounds before they can transmit through walls
- Make your space feel quieter and more comfortable
- Improve audio quality for music listening, gaming, and home theater
- Dampen sounds you make so less noise reaches your neighbors
For many apartment situations, combining acoustic panels with other soundproofing methods gives you the best results.
Using acoustic panels for apartment walls can enhance your living experience by creating a quieter environment.
Consider using acoustic panels for apartment walls alongside other soundproofing techniques to maximize your sound management.

Types of Acoustic Panels for Apartments
Benefits of Using Acoustic Panels for Apartment Walls
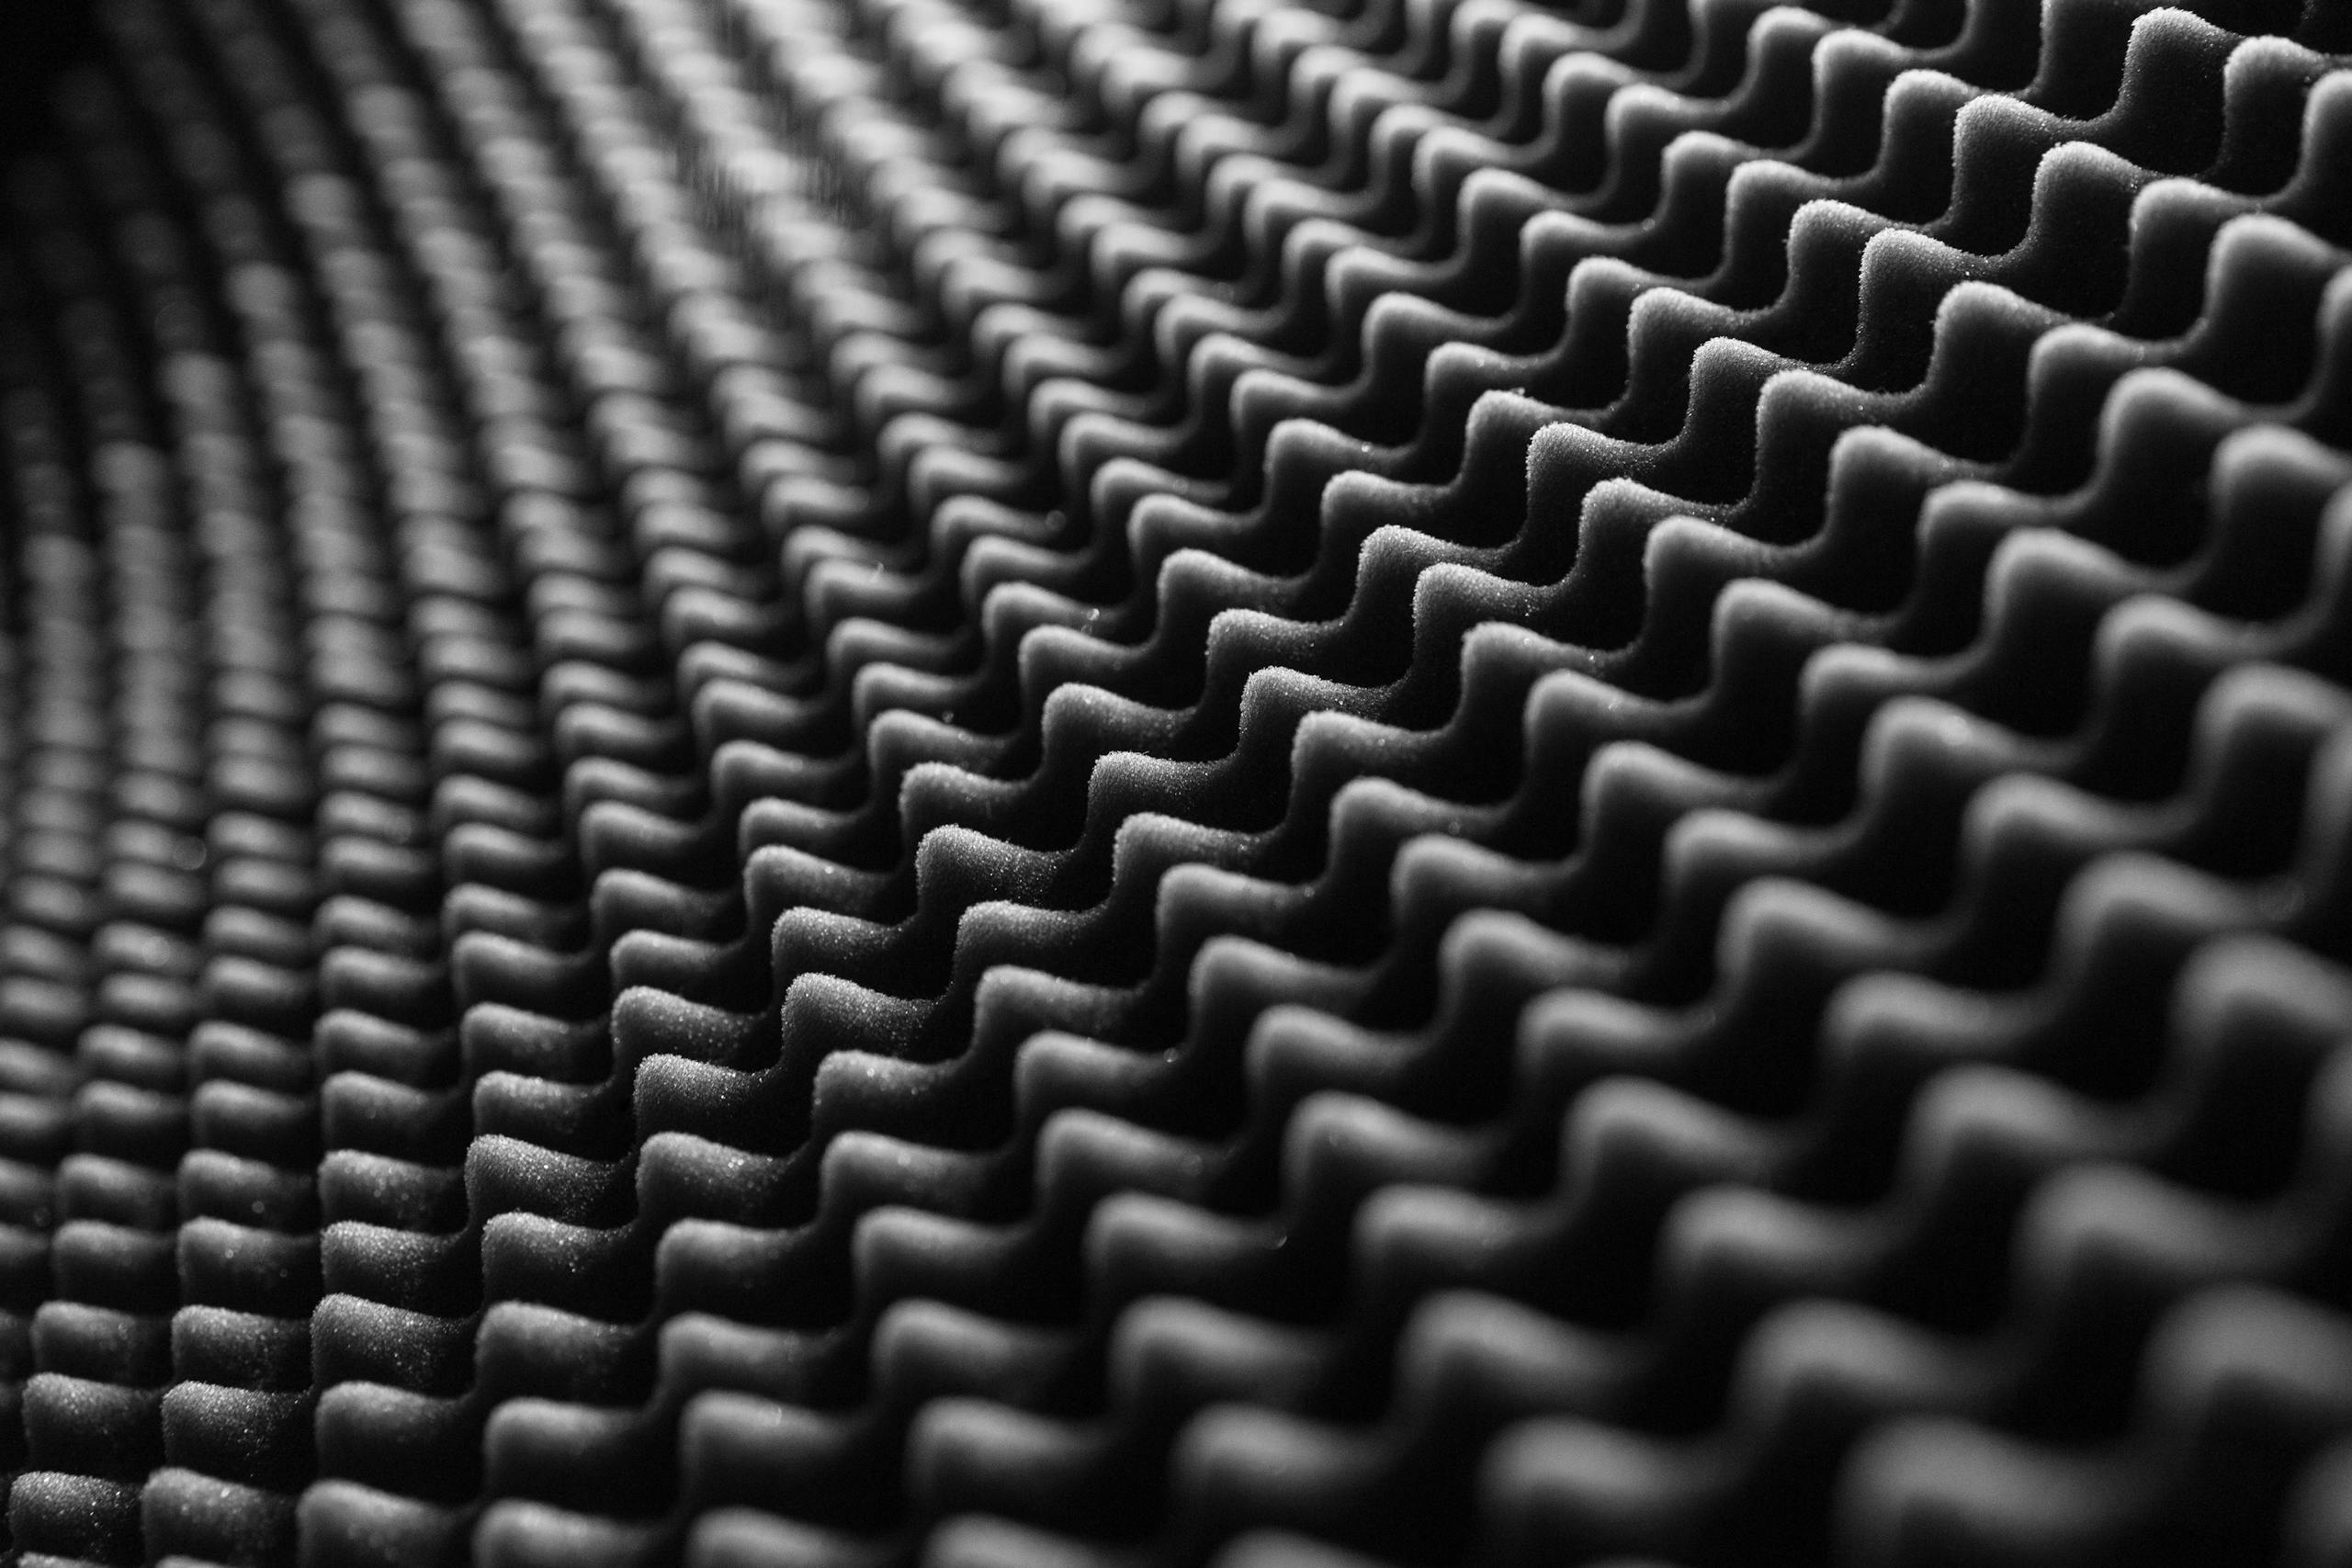
Foam Acoustic Panels
Foam panels are the most common and affordable option. They come in various shapes including flat panels, wedge patterns, pyramid patterns, and egg crate designs.
Best for: Home studios, gaming rooms, podcast recording, reducing echo in home offices
Pros:
- Very affordable (often under $1 per square foot)
- Lightweight and easy to install
- Available in many colors and patterns
- Effective at absorbing mid and high frequencies
Cons:
- Minimal effect on low frequencies (bass)
- Can look cheap if not installed thoughtfully
- Some adhesives can damage walls
- Fire rating varies by manufacturer
What to look for: Density matters more than thickness. A dense 1-inch panel outperforms a fluffy 2-inch panel. Look for panels with a density of at least 1.5 lbs per cubic foot. NRC (Noise Reduction Coefficient) ratings of 0.8 or higher indicate good absorption.
Fabric-Wrapped Acoustic Panels
These panels feature a rigid fiberglass or mineral wool core wrapped in acoustically transparent fabric. They look more professional and perform better than foam.
Best for: Living rooms, home theaters, offices where aesthetics matter, serious audio applications
Pros:
- Superior acoustic performance across more frequencies
- Professional, furniture-like appearance
- Available in custom sizes and fabric colors
- Better low-frequency absorption than foam
- Class A fire rated options available
Cons:
- More expensive ($30-100+ per panel)
- Heavier and require more substantial mounting
- Limited DIY-friendly installation options
What to look for: Core material matters. Fiberglass and mineral wool cores with density around 3-6 lbs per cubic foot provide the best absorption. Thickness of 2 inches or more helps with lower frequencies.
Decorative Acoustic Panels
These panels prioritize aesthetics while still providing some acoustic benefit. They include felt panels, wood slat panels, and artistic designs.
Best for: Living spaces where appearance is the priority, accent walls, spaces where traditional panels would look out of place
Pros:
- Look like intentional decor rather than sound treatment
- Many design options including custom prints
- Can cover large wall areas without looking industrial
- Some options are very easy to install
Cons:
- Generally less effective than purpose-built acoustic panels
- Higher cost per unit of acoustic performance
- May require more coverage to achieve same results
What to look for: Check actual NRC ratings rather than trusting marketing claims. Many decorative panels have NRC ratings of 0.3-0.5, meaning they absorb less than half the sound that hits them. That’s still useful but requires more panels to be effective.
Acoustic Panel Alternatives
If traditional panels don’t fit your space or budget, consider these alternatives that provide similar benefits:
Moving blankets: Dense, heavy blankets can be hung on walls or over doorways. Not pretty, but very effective and cheap.
Bookshelves with books: A full bookshelf acts as a surprisingly effective sound absorber and diffuser.
Heavy curtains: Thick velvet or layered curtains absorb sound while looking intentional.
Tapestries and rugs: Wall-hung textiles and floor rugs reduce echo significantly.
How to Choose the Right Panels for Your Apartment
Assess Your Actual Problem
Before buying anything, identify what you’re trying to solve:
Acoustic panels for apartment walls can effectively reduce unwanted noise from neighbors and enhance your audio experience.
Echo and reverberation: Your voice sounds hollow, music sounds muddy, video calls have that “empty room” quality. Solution: Foam or fabric panels on walls, especially at reflection points.
Sound escaping to neighbors: Your TV, music, or conversations are bothering people next door. Solution: Acoustic panels help somewhat, but combine with mass loaded vinyl, heavy curtains, and sealing gaps for better results.
Sound entering from neighbors: You hear their conversations, TV, or footsteps. Solution: Acoustic panels alone won’t solve this. You need mass-based solutions like MLV, or sound masking with white noise.
Recording or content creation: You need clean audio for podcasts, videos, or music. Solution: Fabric-wrapped panels or dense foam panels positioned at first reflection points.
Calculate How Much Coverage You Need
A common mistake is buying too few panels. For meaningful acoustic treatment, you typically need to cover 20-40% of your wall surface area, depending on your goals.
Light treatment (reducing some echo): 15-20% coverage Moderate treatment (noticeably better acoustics): 25-35% coverage Heavy treatment (recording studio quality): 40-60% coverage
For a typical 12×12 foot room with 8-foot ceilings, you have roughly 384 square feet of wall space. Light treatment would mean 60-80 square feet of panels, while moderate treatment would need 100-130 square feet.
Consider Placement Over Quantity
Strategic placement beats random coverage. The most important locations are:
First reflection points: The spots on side walls where sound bounces from your speakers (or TV) to your listening position. Sit in your usual spot, have someone slide a mirror along the wall. Where you can see the speaker in the mirror is a first reflection point.
Behind speakers or TV: Reduces sound bouncing off the front wall back toward you.
Corners: Bass builds up in corners. Thick panels or bass traps in corners help control low frequencies.
Opposite hard surfaces: If you have a large window or hard wall on one side, treat the opposite wall to reduce flutter echo.
Renter-Friendly Installation Methods
The biggest challenge for apartment dwellers is installing panels without damaging walls. Here are methods that work:
Command Strips
3M Command strips are the go-to solution for renters. Use the Velcro-style strips for easy removal and repositioning.
Tips for success:
- Clean the wall with rubbing alcohol before applying
- Use more strips than the weight rating suggests (foam panels may need 4-6 strips each)
- Let strips set for 1 hour before hanging panels
- Apply strips to the panel, press to wall for 30 seconds, then remove panel and press strips to wall for another 30 seconds
T-Pins and Fabric
For foam panels, T-pins pushed through the foam at an angle can hold panels against drywall with minimal damage. The tiny holes are easily filled when you move out.
Tension Rods and Curtains
For acoustic curtains or blankets, spring-loaded tension rods in window frames or doorways require zero wall damage.
Leaning Panels
Large fabric-wrapped panels can simply lean against walls. This works especially well for bass traps in corners. Add a small piece of non-slip material at the base to prevent sliding.
Freestanding Frames
Build or buy a freestanding frame and attach panels to it. You can cover an entire wall without touching it. This also lets you take your acoustic treatment with you when you move.
Top Product Recommendations
Budget Option: Foam Wedge Panels
Look for panels that are at least 1 inch thick with a wedge or pyramid pattern. Buy in bulk packs of 12-24 panels to get the best per-panel price. Black or charcoal colors tend to look better than bright colors unless you’re going for a specific aesthetic.
Audiosoul 12 Pack Acoustic Panels
Expect to pay: $15-30 for a 12-pack of 12″x12″ panels
Mid-Range Option: High-Density Foam Panels
Step up to panels with documented NRC ratings of 0.8 or higher. These denser panels perform noticeably better than cheap foam. Many come in packs with a mix of flat and beveled edges for a cleaner look when installed together.
Guerri 36 Pack High Density Foam Panels
Expect to pay: $40-60 for 6-12 panels
Premium Option: Fabric-Wrapped Fiberglass Panels
For best performance, choose fabric-wrapped panels with fiberglass or mineral wool cores. These are what professional studios use. They handle a broader frequency range and look like furniture rather than foam.
Olanglab Fiberglass Acoustic Wall Panels 4 Pack
Expect to pay: $40-80 per panel
Aesthetic Option: Felt or Decorative Panels
If looks matter more than maximum performance, felt acoustic panels and decorative options blend into your decor. Some come in hexagon shapes, various colors, or artistic patterns.
Expect to pay: $30-60 for 6-12 panels depending on style
Corner Treatment: Bass Traps
Search Amazon for: “bass trap acoustic foam corner”
Don’t forget corners if you’re dealing with boomy bass or muddy low-end sound. Triangle-shaped foam bass traps fit in wall corners. For serious bass control, look for corner panels at least 12 inches on each side.
Expect to pay: $25-50 for 4 corner bass traps
Installation Tips for Best Results
Start with the room’s worst problems. Put your first panels at reflection points and on the wall that faces your speakers or TV.
Don’t cover everything. A room with too much absorption sounds dead and unnatural. Leave some hard surfaces to maintain a natural sound.
Mix absorption and diffusion. Bookshelves, irregular surfaces, and textured decor help scatter sound rather than just absorbing it. This creates a more natural acoustic environment.
Think in pairs. Sound reflects symmetrically. If you treat one side wall, treat the opposite side the same way.
Test before committing. Before permanently installing, temporarily hang panels with painter’s tape to test positions. Move them around while playing music or talking to find optimal placement.
Combining Panels with Other Soundproofing
For the best results in an apartment, acoustic panels should be part of a larger strategy:
Doors: Add weatherstripping, door sweeps, and consider a door-mounted acoustic panel or heavy curtain.
Windows: Use heavy soundproof curtains alongside any window treatments.
Walls: If sound transmission is the issue, add mass loaded vinyl behind or instead of foam panels.
Combining acoustic panels for apartment walls with other methods will ensure soundproofing and a tranquil environment.
Floors: Thick rugs with dense pads help absorb sound and reduce impact noise.
Gaps and cracks: Seal any openings around outlets, light fixtures, and baseboards with acoustic caulk.
Common Mistakes to Avoid
Buying the cheapest panels. Ultra-cheap foam often has very low density and provides minimal absorption. Spending slightly more dramatically improves results.
Only treating one wall. Sound bounces between surfaces. Treating just the wall behind your TV while ignoring the opposite wall won’t solve flutter echo.
Ignoring corners. Bass builds up in corners. If low-frequency rumble is your problem, corner treatment is essential.
Expecting miracles from foam. If your neighbor’s subwoofer is the problem, no amount of foam will fix it. You need mass-based solutions.
Random placement. Panels stuck randomly on walls waste money. Strategic placement at reflection points and problem areas is far more effective.
Frequently Asked Questions
Do acoustic panels really work in apartments?
Yes, but they work for specific problems. They’re excellent for reducing echo, improving audio quality, and making your space sound better. They provide modest help with reducing sound transmission to neighbors. They don’t block noise coming into your apartment from outside sources.
How many panels do I need?
For a standard bedroom or home office (roughly 120 square feet), start with 12-24 square feet of panels (about 12-24 of the standard 12″x12″ panels). For living rooms or larger spaces, scale up proportionally. You can always add more later.
Can I use acoustic panels on ceilings?
Yes, ceiling treatment is very effective. Use lightweight foam panels with strong adhesive or a drop-ceiling grid system. Cloud panels (panels suspended below the ceiling) work well in recording spaces.
What’s the difference between acoustic panels and soundproofing?
Acoustic panels absorb sound within a room, reducing echo and reverberation. Soundproofing blocks sound from entering or leaving a space. They solve different problems and often work best together.
Will my landlord approve acoustic panels?
Using damage-free mounting methods like Command strips or leaning panels should satisfy most landlords. Always document wall condition before and after, and remove all mounting hardware when you move out.
Final Recommendations
For most apartment situations, we recommend starting with a mid-range foam panel kit and strategic placement. Get 24-48 panels (to cover about 25-35% of your main room’s wall space), mount them at reflection points and on walls shared with neighbors, and see how much improvement you get.
If you’re serious about audio quality for recording or content creation, invest in fabric-wrapped fiberglass panels. The performance difference is significant and they look professional in any video background.
And remember: acoustic panels work best as part of a complete strategy. Combine them with door seals, heavy curtains, rugs, and gap sealing for the quietest apartment possible.