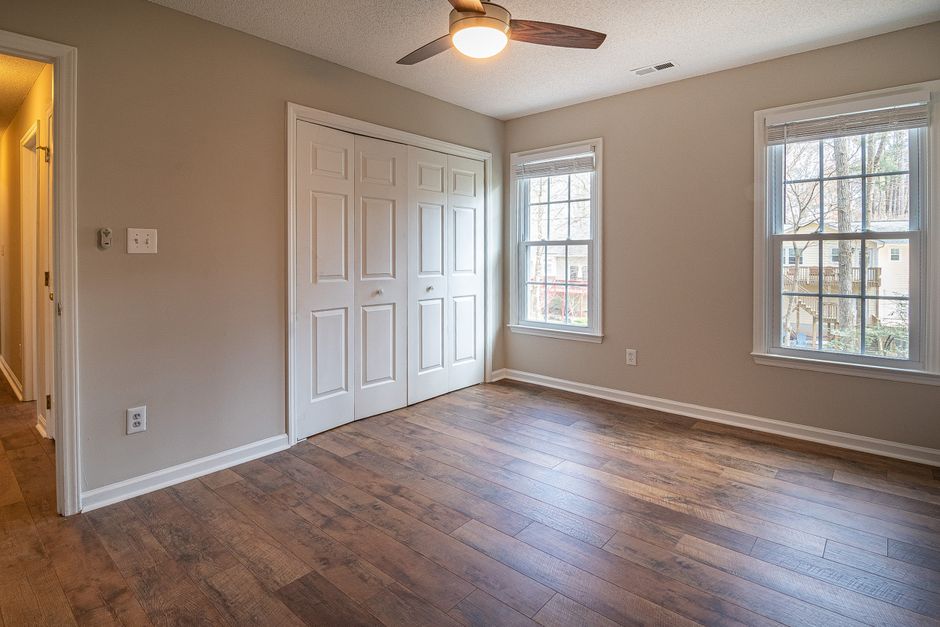
If you live in an apartment, you already know the soundtrack: footsteps from the unit above, the thud of someone dropping something at midnight, bass from a neighbor’s subwoofer vibrating through your ceiling. Floor and ceiling noise is one of the most common complaints among apartment dwellers — and one of the most frustrating to deal with. The good news is that you don’t need to tear up your floors or violate your lease to make a real difference. Whether you’re dealing with impact noise, airborne sound, or both, there are practical, renter-friendly solutions that actually work. This guide walks you through everything you need to know.
Understanding the Two Types of Floor Noise
Before you spend a dime on materials, it helps to understand what you’re actually fighting. Floor noise in apartments typically falls into two categories:
- Impact noise — This is caused by physical contact with the floor: footsteps, dropped objects, furniture being dragged, kids running. The vibration travels directly through the building structure.
- Airborne noise — This is sound that travels through the air, like music, voices, or TV audio. It passes through gaps, thin materials, and poorly insulated floor assemblies.
Most apartment floor noise problems are dominated by impact noise, which is notoriously harder to block than airborne sound. That’s why you need to focus on adding mass, decoupling surfaces, and absorbing vibration — not just slapping down a rug and calling it a day.
Step 1: Start With Area Rugs and Rug Pads
This is the easiest, cheapest, and most deposit-safe place to start. A thick area rug does two things: it absorbs impact energy before it enters the floor, and it reduces the echo and reverberation in your space that makes noise feel worse.
But here’s what most people get wrong — they skip the rug pad. A dense, thick rug pad underneath your area rug dramatically increases the impact noise reduction. Look for pads made from felt, rubber, or a combination of both. The thicker, the better. Aim for at least 1/4 inch of padding, and cover as much of your floor as possible.
High-traffic areas like living rooms, hallways, and bedrooms should be your priority. Hard floors with nothing on them are essentially speaker membranes for anyone living below you.
Step 2: Add Mass to the Floor With Mass Loaded Vinyl
If rugs alone aren’t cutting it — or if you’re dealing with serious noise complaints from downstairs neighbors — you need to add real mass to your floor assembly. This is where Trademark Soundproofing Mass Loaded Vinyl comes in.
Mass Loaded Vinyl (MLV) is a dense, flexible material that adds significant acoustic mass to floors, walls, and ceilings. It works by making it harder for sound vibrations to pass through — the heavier and denser the barrier, the less sound gets through.
For floor applications, you can lay MLV directly under an area rug or underneath a floating floor layer. Because it’s flexible and doesn’t require adhesive in most renter applications, it’s possible to use without permanently modifying anything. It’s heavy (typically 1-2 pounds per square foot), so it stays put on its own.
This is especially useful if you’re trying to reduce low-frequency impact noise — the kind that travels the furthest and is hardest to stop with soft materials alone.
How to Layer MLV With Rugs for Maximum Effect
- Place the MLV sheet directly on your hard floor
- Add a thick felt or rubber rug pad on top of the MLV
- Lay your area rug over the pad
This sandwich approach creates a multi-layer system that addresses both mass and absorption — a much more effective combination than any single material alone.
Step 3: Seal Gaps Around Baseboards and Floor Edges
Sound is sneaky. Even if you’ve loaded up your floor with mass and padding, airborne noise can still leak through gaps around the perimeter of your room — between baseboards and the floor, around pipe penetrations, and at the base of walls. These gaps act like open windows for sound.
Acoustic sealant (also called acoustic caulk) is a flexible, paintable compound you can apply around baseboards, door frames, and any visible gaps. Unlike regular caulk, it stays flexible and doesn’t crack over time, which matters because sound needs only a tiny opening to pass through. This is a simple, low-cost step that’s often overlooked.
If you’re renting and worried about using caulk, foam weather stripping tape applied along the base of walls can provide a temporary seal without permanent modification.
Step 4: Address the Room Itself — Reduce Sound Reflection
Here’s something most soundproofing guides skip: the noise problem in your apartment isn’t just about what passes through your floor — it’s also about how sound behaves inside your space. Hard floors, bare walls, and high ceilings create rooms that amplify every sound and make noise from neighbors feel louder than it actually is.
Adding acoustic treatment to your walls reduces the reverberation in your room, which makes the noise that does come through feel less intrusive. This is where wall panels make a meaningful difference in your daily experience.
The Art3d Wood Slat Acoustic Panels in Walnut are a great option here. They’re designed to absorb mid and high-frequency sound, reducing echo and flutter in your space. Unlike foam panels that look industrial, these have a clean, modern wood finish that actually improves the aesthetics of your apartment. They mount easily and can be removed without major wall damage — important for renters.
Placing these on the wall shared with a noisy neighbor, or on the wall adjacent to your noisiest floor area, helps absorb sound before it has a chance to bounce around the room.
Step 5: Use Furniture Strategically
Your furniture is an underrated acoustic tool. Heavy, upholstered pieces — sofas, bookshelves packed with books, upholstered chairs — all absorb sound and add mass to your space. Here’s how to use this to your advantage:
- Place large bookshelves against walls shared with neighbors
- Use upholstered furniture instead of hard wooden or metal pieces
- Add throw pillows, curtains, and wall hangings to reduce reflective surfaces
- Put furniture on felt pads or rubber feet to prevent impact transmission
None of this replaces dedicated soundproofing materials, but as part of a layered approach, it adds up.
Step 6: Treat Your Home Recording or Practice Space
If you play music, record audio, or work from home on video calls, you’re dealing with a slightly different problem: you need to prevent sound from leaving your space, not just keep neighbor noise out. In this case, acoustic foam treatment becomes a key tool.
The GUERRI Acoustic Foam Wedge Panels 36-pack gives you enough coverage to treat a small room effectively. Foam panels absorb mid and high-frequency sound energy, reducing the overall sound pressure level in a room and making it much less likely that sound escapes through your walls and floor to bother neighbors below.
They’re lightweight, easy to mount with removable adhesive strips, and inexpensive compared to professional treatment. For anyone practicing instruments, recording podcasts, or just trying to keep their gaming setup from annoying the whole building, these panels make a genuine difference.
What Won’t Work (And What to Avoid)
Let’s be honest about a few common mistakes:
- Thin foam mats alone — The cheap interlocking foam puzzle mats from big box stores do almost nothing for impact noise. They’re too soft and too thin to meaningfully block or absorb floor impact.
- Egg crate foam — Despite its reputation, egg crate foam is nearly useless for soundproofing. It absorbs a tiny amount of high-frequency sound at best.
- Single-solution thinking — No single product will solve an apartment floor noise problem. Effective soundproofing always involves layers.
- Ignoring the source — If you’re the one making noise and bothering neighbors below, putting a rug down matters more than any wall treatment you add.
A Realistic Expectation Check
Apartment soundproofing has limits. You are working with an existing structure that you can’t fundamentally modify. A properly executed layered approach — MLV, dense rug pads, area rugs, acoustic panels, sealed gaps, and strategic furniture — can reduce perceived noise levels significantly and make your apartment dramatically more livable. But it won’t achieve complete silence, especially if your building has thin concrete or wood-frame construction.
Set your goal at meaningful improvement, not perfection. Most renters who implement even three or four of the steps in this guide report a noticeable reduction in noise frustration — and that’s the real win.
Conclusion
Soundproofing an apartment floor doesn’t require a contractor, a renovation budget, or your landlord’s permission. It requires understanding the problem, choosing the right materials, and applying them in layers. Start with rugs and padding, add MLV where noise is worst, seal your gaps, treat your walls with acoustic panels, and use your furniture strategically. Each step builds on the last, and the cumulative effect is far greater than any single fix. Take it one step at a time, and you’ll start sleeping better — literally.
Frequently Asked Questions
Can I soundproof my apartment floor without losing my security deposit?
Yes. The methods outlined in this guide — area rugs, rug pads, Mass Loaded Vinyl laid loose, removable acoustic panels, and acoustic sealant applied carefully — are all non-destructive or minimally invasive. Always check your lease before making any modifications, but most of these solutions require no permanent changes to the property.
What’s the most effective single thing I can do to reduce floor noise in an apartment?
If you can only do one thing, add a thick area rug with a dense rubber or felt rug pad over your hard floors. This addresses the most common source of floor impact noise and is the most accessible solution for renters. Adding Mass Loaded Vinyl beneath the rug will amplify this effect significantly.
Will soundproofing my floor help with noise coming from downstairs neighbors?
Floor treatments primarily reduce noise traveling downward (impact noise you create) and improve your room’s acoustic comfort. To reduce noise coming up from below through your floor and ceiling, you need to treat the ceiling, add mass to the floor assembly, and seal gaps. A combination of MLV and acoustic panels on shared surfaces will help the most.
How much does it cost to soundproof an apartment floor?
A basic setup — a quality rug pad and area rug for a medium room — can cost $50–$200. Adding Mass Loaded Vinyl for a full room might run $100–$300 depending on square footage. Acoustic wall panels and foam treatment add another $50–$200 depending on coverage. A comprehensive DIY treatment for an apartment can realistically be done for $300–$600, far less than professional installation or moving to a quieter building.
Affiliate Disclosure: This article contains affiliate links. If you make a purchase through these links, we may earn a small commission at no additional cost to you. This helps support Soundproofing Simplified and allows us to continue creating helpful guides. We only recommend products we genuinely believe will help.